DIY Embossing Stamp - Make Your Own Custom Designs
There's something truly special, you know, about adding a personal touch to things, whether it's a card for a dear one, a special gift tag, or even your own stationery. It feels a bit like leaving a tiny piece of yourself on what you create. For many, that feeling of making something with your own hands, putting in the effort, is actually where the real satisfaction comes from. It's that wonderful sense of accomplishment that often comes with doing it yourself, just like fixing up a part of your home or building something from scratch.
When you think about making things truly stand out, the idea of an embossed design often pops up. It's that raised, textured look that catches the light in a rather pleasing way, adding a touch of elegance and a definite feeling of being well-made. This effect, you might think, is only for those fancy machines or professional print shops, but that's really not the case. With a little bit of creative spirit and some simple items, you can, in some respects, bring this kind of special touch right into your own crafting space.
So, if you've ever admired that beautiful, three-dimensional texture on paper or wondered how to give your projects a truly unique mark, then you're in for a treat. This guide will walk you through the steps of creating your very own tools for this kind of raised design. We'll look at what you need, how to put it all together, and how to get the best results, showing you that giving your paper goods a distinctive feel is actually quite within your reach. It's all about enjoying the process, you see, and seeing your ideas come to life.
Table of Contents
- Why Make Your Own DIY Embossing Stamp?
- What Materials Do You Need for a DIY Embossing Stamp?
- Getting Started - Shaping Your DIY Embossing Stamp Design
- How Does a DIY Embossing Stamp Work Its Magic?
- Different Ways to Use Your DIY Embossing Stamp
- What If Your DIY Embossing Stamp Isn't Working Right?
- Caring for Your DIY Embossing Stamp
- The Joy of a Personal DIY Embossing Stamp
Why Make Your Own DIY Embossing Stamp?
You might be asking yourself, "Why go through the effort of making one of these things when I could just buy one?" That's a fair question, and the answer, in fact, has many parts. For starters, creating your own means you get to make something truly one-of-a-kind. Think about it: a design that exists nowhere else, crafted by your very own hands. This personal touch can make gifts feel so much more thoughtful and special, leaving a lasting impression on whoever receives them, which is really quite lovely.
Then there's the matter of what it costs. Getting custom tools for making raised designs from a store or a specialized service can set you back a fair bit of money, especially if you want a specific image or a particular size. By choosing to do it yourself, you can often put one together for just a fraction of that price. It's a bit like how some folks tackle home projects themselves, like making their own patio covers or working on their car's air conditioning, to save on the expense of calling in the professionals. This approach can be very kind to your wallet, you see.
Beyond the unique outcome and the money saved, there's a deep sense of satisfaction that comes from bringing a creative idea to life. It's the joy of working with your hands, seeing a concept move from your mind to a physical object. This feeling is, honestly, what many people who enjoy making things themselves often talk about. It’s that happy moment when you look at what you’ve made and think, "I did that!" That sense of personal achievement is, arguably, a reward in itself, making the whole process worthwhile.
What Materials Do You Need for a DIY Embossing Stamp?
So, what exactly do you need to gather to bring your vision of a personal tool for raised designs into being? The good news is that the list of items is not terribly long, and many of them might already be hanging around your crafting area. The core material for the actual stamping surface can vary, but common choices include a soft block of rubber, a piece of linoleum, or even a bit of polymer clay that you can bake to make firm. Each of these has its own feel when you work with it, so you might try a few to see what you like best, you know.
For getting your design onto the chosen material, you'll want a pencil and some tracing paper, or maybe a fine-tipped marker. To remove the parts you don't want, creating the raised image, you'll need some tools for carving. These can be specialized carving tools with different shaped blades, or even just a very sharp craft knife. A cutting mat underneath your work is a really good idea, as it keeps your surfaces safe and provides a bit of grip for your material. You don't want your tools slipping, do you?
Finally, you'll want something to hold onto while you press your design. This could be a small block of wood, a sturdy plastic handle, or even just a piece of thick cardboard that you can attach to the back of your newly carved piece. A strong adhesive, like super glue or a craft cement, will help keep your carved surface firmly attached to its handle. Having all these bits and pieces ready before you start can make the whole process go a lot more smoothly, which is pretty important.
Getting Started - Shaping Your DIY Embossing Stamp Design
Once you've gathered your supplies, the next step is to bring your design to life on your chosen material for your very own tool for raised designs. First, you'll want to draw or print your design onto a piece of paper. Remember that when you press your tool, the image will appear in reverse, so if you have text or a specific direction in your picture, you'll need to flip it before you transfer it. This is, in fact, a common thing to remember when working with stamps, so it's a good habit to get into.
To get your design onto the rubber or linoleum block, you can place your drawing face down and rub the back with a spoon or a brayer, which will transfer the pencil lines. Alternatively, you can simply draw directly onto the block with a permanent marker. With your design in place, it's time for the careful part: the carving. You'll want to remove the areas around your design, leaving the lines and shapes you want to show up as the raised parts. Take your time with this, making small, controlled cuts. It's not a race, you see.
As you carve, always cut away from yourself and keep your fingers clear of the blade. It's a bit like working on other home projects where safety is key, like when you're dealing with electrical wiring or plumbing. Some parts of your design might be quite tiny, so a steady hand and good lighting will be your friends here. Once you've carved out your design, you can then glue your finished piece to a small handle, making it much easier to hold and press. This truly completes the physical creation of your unique tool for raised designs, which is quite satisfying.
How Does a DIY Embossing Stamp Work Its Magic?
After you've put together your very own tool for making raised designs, you might wonder about the actual process of getting that lovely, textured effect on paper. It's not just about pressing your newly made tool onto the paper, as you would with a regular ink stamp. This process involves a few more steps, but they're really quite simple and produce a rather striking outcome. The key elements here are a special kind of powder and a bit of warmth, which is pretty neat, if you ask me.
First, you'll need a special kind of ink pad that stays wet for a little while, often called an "embossing ink" or "clear stamp ink." You press your custom tool onto this pad, just as you would with any other stamp, making sure your design is completely covered with the sticky ink. Then, you carefully press your inked tool onto the paper or cardstock where you want your design to appear. The ink will transfer, leaving a clear, slightly sticky impression of your design. This initial step is, in a way, like setting the stage for the magic to happen.
Immediately after stamping, you sprinkle a generous amount of "embossing powder" over the wet ink. This powder is made of tiny plastic particles that will stick only to the wet ink. Gently tap off any extra powder back into its container. You'll then be left with just the powder clinging to your design. The final step involves applying heat to the powdered image. A special "heat tool" or "heat gun" is usually used for this. As the powder warms up, it melts and rises, creating that beautiful, raised, and shiny effect. It's honestly quite amazing to watch the transformation as the powder changes right before your eyes, which makes it feel very much like a little bit of true magic.
Different Ways to Use Your DIY Embossing Stamp
Having your own custom tool for making raised designs opens up a whole world of creative possibilities. You can use it to add a touch of class and individuality to so many different projects, making them truly stand out. Think about personalizing greeting cards for birthdays, holidays, or just because. A custom, raised design on the front of a card can make it feel so much more thoughtful and unique than something you'd pick up at a store, which is pretty cool.
Beyond cards, you can use your custom tool to create your own unique stationery. Imagine letterheads, envelopes, or even simple note cards with your personal mark or a special design. This is a lovely way to make your written communications feel a bit more special. You could also use it for gift tags, giving your presents an extra layer of care and attention. It's a small detail, but it can make a big difference in how a gift is received, you know.
For those who enjoy scrapbooking or journaling, a personal tool for making raised designs can add texture and visual interest to your pages. You can use it to create borders, accents, or even a repeating pattern. Artists might find it useful for adding a unique signature to their work or for creating interesting background textures. Basically, anywhere you want to add a distinctive, raised design, your custom tool for raised designs can be put to good use. It's a truly versatile crafting companion, and that's really something to appreciate.
What If Your DIY Embossing Stamp Isn't Working Right?
Sometimes, when you're working on a creative project, things don't go exactly as you planned the first time around. This is completely normal, and it's a part of the learning process for any do-it-yourself endeavor, whether you're trying to get a dent out of a car or making a custom tool for raised designs. If your newly made tool for raised designs isn't giving you the clear, crisp impression you're hoping for, there are a few things you can look at. It's often a simple fix, you see.
One common issue is an uneven impression. This could mean you're not pressing your tool down with enough, or even pressure across the whole surface. Try pressing firmly and evenly, perhaps using a flat block of wood on top of your tool to help distribute the force. If the design seems blurry or the powder isn't sticking well, it might be that your ink pad isn't wet enough, or you're not sprinkling the powder on quickly enough after stamping. The ink needs to be quite sticky for the powder to grab on properly, you know.
Another thing to check is the heat application. If the powder isn't melting fully or looks grainy, your heat tool might not be hot enough, or you're not holding it over the design for long enough. Conversely, if the paper warps or the powder looks burnt, you might be applying too much heat or holding the tool too close. It's a bit of a balancing act to find just the right amount of warmth. Like many home repairs, a little bit of patience and trying different approaches can often lead to a good outcome, which is pretty typical.
Caring for Your DIY Embossing Stamp
Once you've put in the effort to create your very own tool for making raised designs, you'll want to make sure it lasts for many projects to come. Proper care and storage can really help keep your tool in good shape, ensuring it continues to produce lovely, clear impressions every time you use it. It's a bit like taking care of your garden tools or keeping your car well-maintained; a little attention goes a long way, you know.
After each use, it's a good idea to clean any leftover ink or powder from your tool. A soft, damp cloth can usually do the trick. For stubborn bits of ink, a mild stamp cleaner designed for rubber or clear stamps can be helpful. Just make sure to gently wipe it clean and let it air dry completely before putting it away. You don't want any moisture trapped, as that could, in some respects, affect the material over time. This simple cleaning step is quite important for keeping things tidy and ready for next time.
When it comes to putting your tool away, try to store it in a cool, dry place, away from direct sunlight or extreme temperatures. A small box or a dedicated drawer works well, keeping it safe from dust and any accidental damage. If you have multiple custom tools for raised designs, you might consider labeling them so you can easily find the one you need for your next creative idea. Taking these few moments to look after your tool means it will be ready and waiting for your next burst of creativity, which is very convenient.
The Joy of a Personal DIY Embossing Stamp
There's a unique kind of satisfaction that comes from creating something with your own hands, especially when that something helps you add a personal touch to other items. Making your very own tool for creating raised designs is a fantastic example of this. It's not just about the finished product, which is, of course, quite beautiful, but also about the process itself. The act of designing, carving, and then seeing your vision come to life in a tangible way is truly rewarding, you see.
This kind of personal creation allows you to express your own style and add a signature element to your paper crafts, gifts, and even business materials. It gives your projects a feeling of being genuinely handcrafted and made with care, which is something that people really appreciate. In a world where so much is mass-produced, having something that bears your unique mark can feel incredibly special. It's a quiet statement of individuality, and that's pretty powerful, really.
So, whether you're a seasoned crafter looking for a new project or someone just starting out on their creative journey, making a personal tool for raised designs offers a wonderful opportunity. It's a chance to learn new skills, save a bit of money, and most importantly, to experience the pure joy of making something truly your own. The creative freedom and the sense of accomplishment you get from seeing your custom designs come to life are, honestly, what makes the effort entirely worthwhile.
This article has covered how to create your own tool for making raised designs, starting with why someone might want to make one themselves, moving through the materials needed, and then explaining the steps for shaping your design. It also went into how the process of making raised designs actually works, discussed various ways to use your custom tool, offered advice for when things don't quite go as planned, and provided tips for keeping your tool in good condition. The piece concluded by reflecting on the personal satisfaction and creative freedom that comes from having a custom tool for making raised designs.
Best of DIY
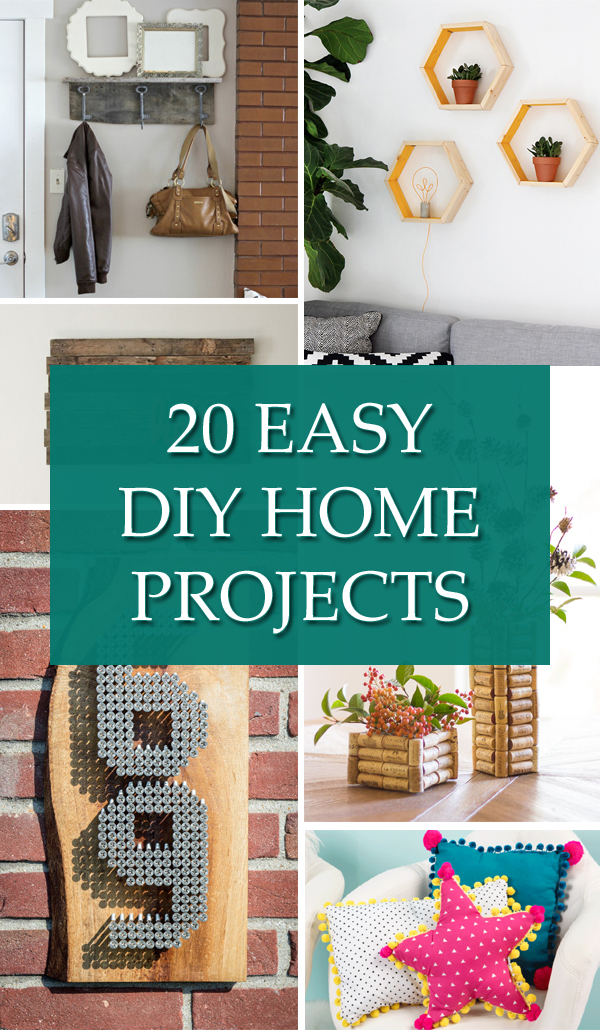
20 Easy DIY Home Projects You Can Do in a Day (or Less!)
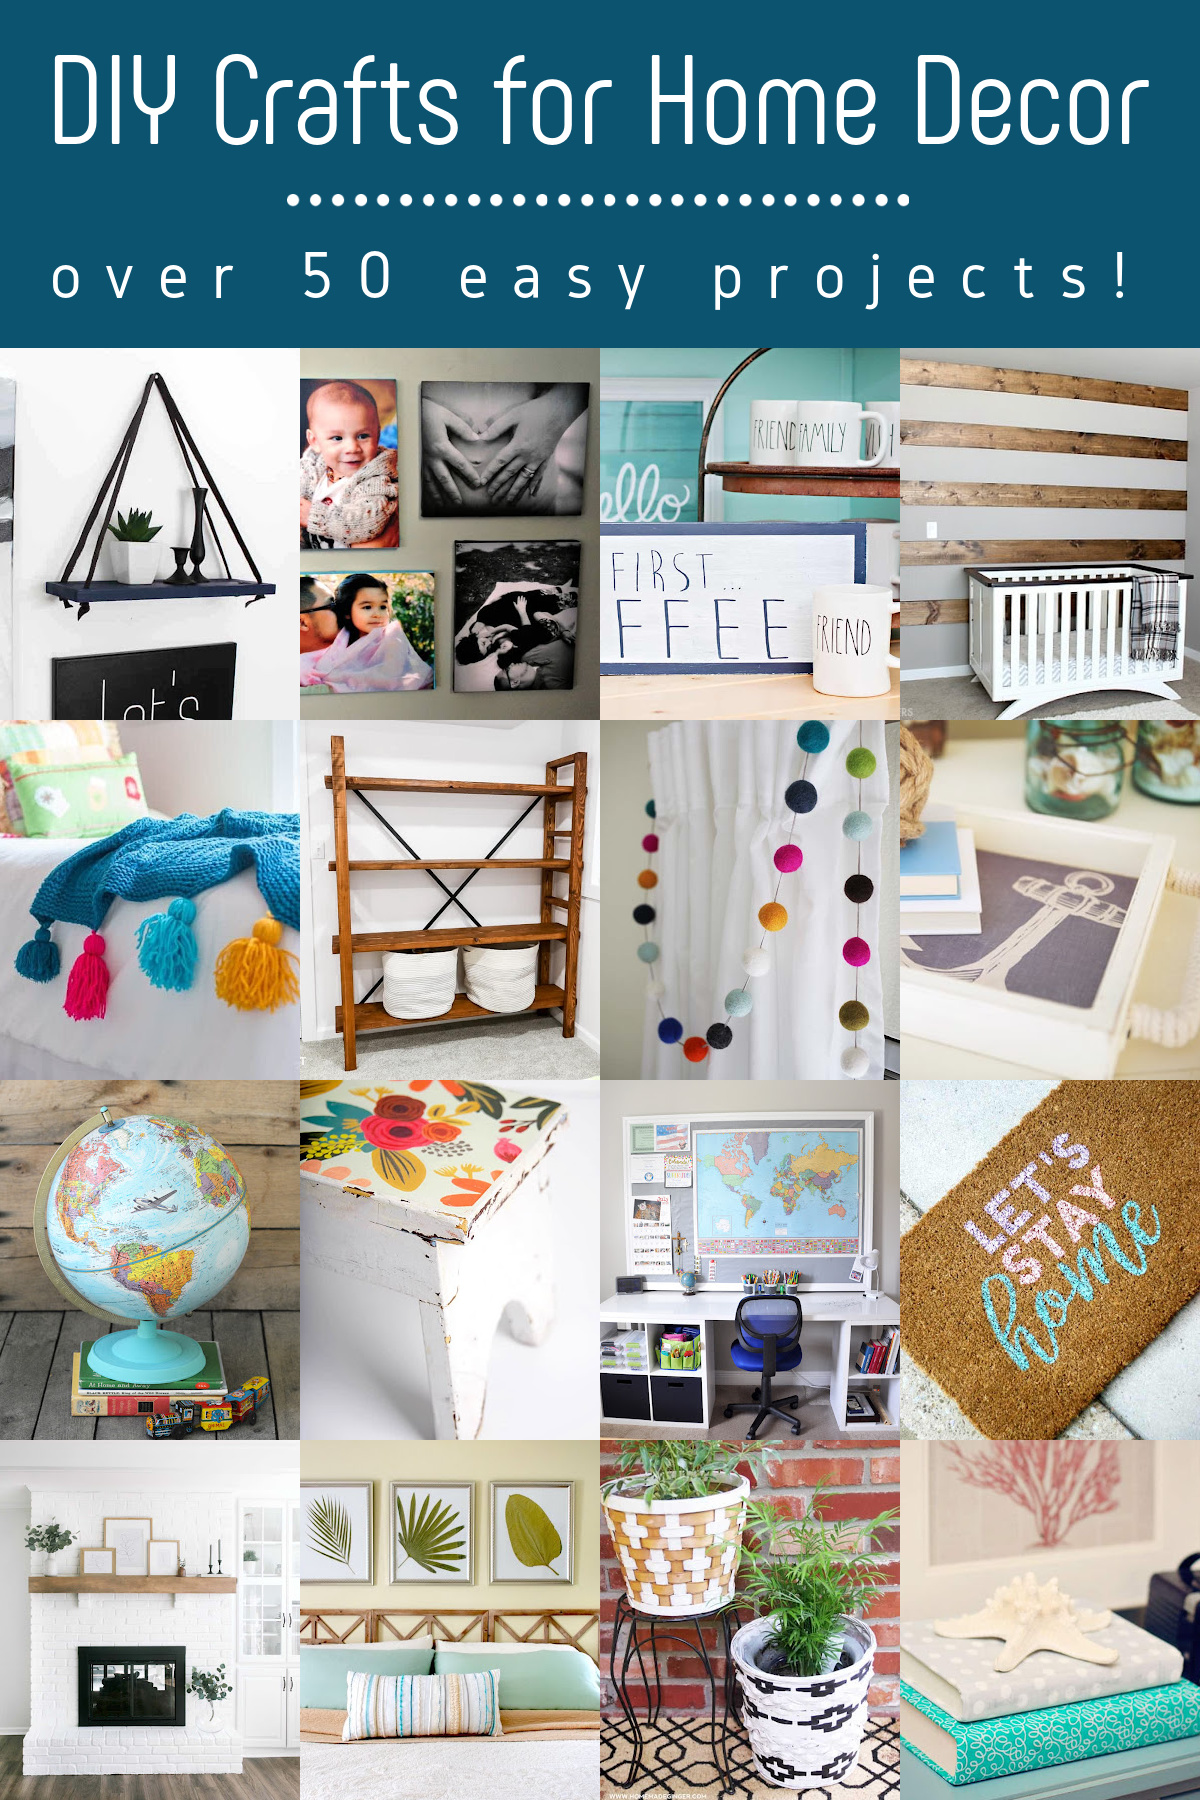
Hướng dẫn home decor diy crafts tự làm đồ trang trí nhà đơn giản tại nhà
