Keeping Your Speed Queen Washer Filter Clean - A Simple Guide
Having a washing machine that works well makes laundry day a lot easier, doesn't it? It's a real helper around the house, taking care of clothes so they come out fresh and bright. A good washer, like a Speed Queen, is built to last and handle lots of laundry loads over time. Yet, even the most sturdy machines need a little care and attention every now and then to keep them doing their best work. Think of it like keeping any part of your home tidy; sometimes, it is just a little bit of effort that makes a big difference in the long run, you know?
A washing machine does a tough job, dealing with all sorts of dirt and bits from clothes. Over time, tiny pieces of lint, stray hairs, and maybe even small bits of fabric can gather inside the machine. These little things, while seemingly harmless at first, can build up and start to cause trouble for the washer's internal workings. That is why there are filters inside these appliances, designed to catch these unwanted particles before they can clog things up or make the machine run less effectively. If these filters get too full, the washer might not drain as it should, or it could even leave your clothes less than perfectly clean.
So, what we are going to look at today is how to give that important part of your Speed Queen washer a good tidy-up. It is a straightforward process, honestly, and it does not take a lot of time once you know what to do. We will walk through the steps, talk about what you might need, and even cover how often this little cleaning job should happen. By the end of this, you will have a pretty good idea of how to keep your Speed Queen working happily and your clothes coming out wonderfully clean, just like they should.
Table of Contents
- Why Keep Your Speed Queen Washer Filter Clean?
- What Tools Do You Need to Clean Your Speed Queen Washer Filter?
- Getting Ready to Clean Your Speed Queen Washer Filter
- Where is the Filter on a Speed Queen Washer?
- Step-by-Step Guide to Clean Your Speed Queen Washer Filter
- How Often Should You Clean Your Speed Queen Washer Filter?
- Keeping Your Speed Queen Washer Running Smoothly
- Tips for a Cleaner Speed Queen Washer
Why Keep Your Speed Queen Washer Filter Clean?
You might wonder why taking the time to clean a washer filter is even a thing, you know? Well, think about it this way: your washing machine is constantly dealing with water that has all sorts of things floating in it. There is lint from towels, hair from clothes, maybe even little bits of paper or forgotten tissues that somehow made it through a wash cycle. All these tiny pieces have to go somewhere, and a big part of their journey ends up at the washer's filter, so.
This filter acts like a catcher's mitt, stopping these bits from getting into the pump or drain hose. If that filter gets clogged up with too much stuff, it can really slow down how well your machine works. Water might not drain out as quickly, or it might not drain at all, which is a bit of a problem. You could end up with a puddle of water in the machine after a cycle, or your clothes might still feel quite wet, which is not what anyone wants, actually.
A full filter can also mean your clothes do not get as clean as they should. If the water cannot move freely, the soap and rinse cycles might not work their best. This means your laundry might come out with a bit of a dingy look, or perhaps even a strange smell, which is certainly not ideal. Keeping the filter clear helps the machine do its job properly, making sure every wash cycle truly gets rid of dirt and leaves things smelling fresh. It is about keeping the whole system free from impurities, you could say.
Plus, when your machine has to work harder because of a blocked filter, it puts more stress on its parts. Over time, this extra effort can wear things out faster. A simple cleaning of the filter can help extend the working life of your Speed Queen, keeping it running smoothly for many more years. It is a small act of care that can save you bigger headaches down the road, really.
What Tools Do You Need to Clean Your Speed Queen Washer Filter?
Before you begin to clean your Speed Queen washer filter, it helps to gather a few simple things. You probably have most of these lying around the house, so it is not like you need anything very special. Having everything ready beforehand makes the whole process go a lot smoother and quicker, you know.
First off, you will want some old towels or a shallow pan. This is because when you open up the filter area, there is almost always a little bit of water that will come out. Having something to catch it means no messy puddles on your floor, which is quite nice. A small brush, like an old toothbrush or a bottle brush, can be very useful for scrubbing away any stubborn bits of gunk that might be stuck to the filter itself.
You might also want a pair of gloves, just to keep your hands clean. The stuff that comes out of the filter can be a bit slimy and not very pleasant to touch, so gloves are a good idea for some people. A flashlight can be helpful too, especially if the area where your washer is located is not super bright. This way, you can clearly see what you are doing and make sure you get all the bits of debris.
Sometimes, a flat-head screwdriver might be needed if there is a cover that needs to be gently pried open to get to the filter. Just check your washer's manual or take a quick look at the machine itself to see if this is something you will need. That is pretty much it for the tools, honestly, just basic household items to help you get the job done right.
Getting Ready to Clean Your Speed Queen Washer Filter
Alright, so you have decided to give your Speed Queen washer filter a good cleaning. That is a smart move! Before you actually start poking around inside the machine, there are a couple of very important steps to take for safety and to make sure everything goes smoothly. These are pretty simple things, but they are absolutely worth doing, you know.
The first and most important thing is to make sure the washer is completely turned off and unplugged from the wall socket. This is for your safety, so there is no chance of the machine accidentally starting up while your hands are near its working parts. It is a bit like making sure the stove is off before you clean it; you just want to be sure there is no power going to it.
Next, you will want to get your towels or pan ready and put them right near the front or bottom of the washer, depending on where the filter access is. As we mentioned, some water will likely come out, and having your catch basin ready will save you from a small flood. It is just good preparation, really, to keep things tidy.
You might also want to have a small container or a paper towel handy for any lint or debris you pull out of the filter. This way, you can easily toss it into the trash without making a mess on your floor or getting it on your hands, you know. Just having these little things organized before you start makes the whole cleaning process much more efficient.
Where is the Filter on a Speed Queen Washer?
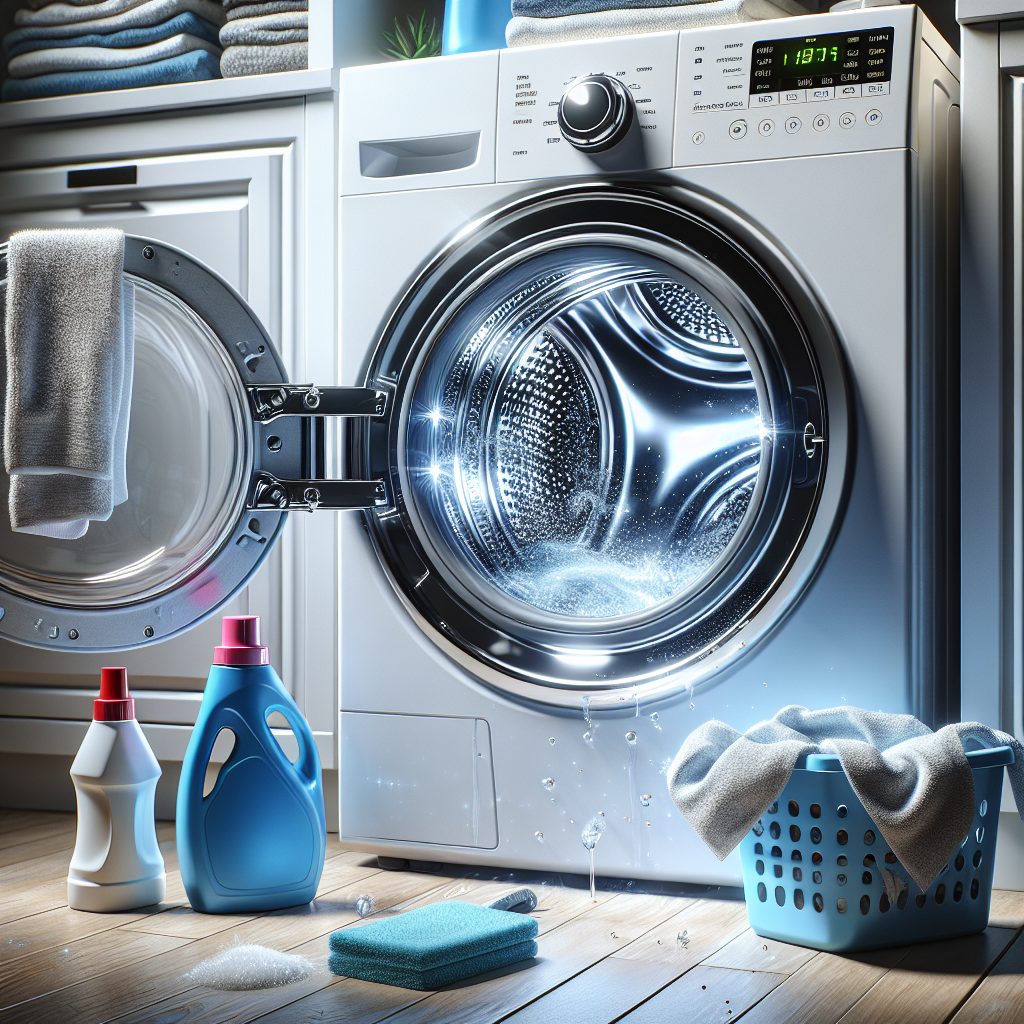
Now, a common question people have when they want to clean their Speed Queen washer filter is, "Where exactly is this thing hiding?" It is a fair question, as its location can vary a little bit depending on the specific model of your Speed Queen machine. However, there are some pretty usual spots where you can expect to find it, so.
For many Speed Queen washing machines, especially the front-loading ones, you will often find the filter, sometimes called a coin trap or drain pump filter, located at the very bottom front of the machine. It is usually behind a small access panel or a little door that you can pop open. This panel might be a little square or rectangular piece that blends in with the rest of the washer's front.
Sometimes, you might need to gently pry this panel open with a flat-head screwdriver, or it might just have a simple latch or tab that you can pull. If you have an older top-loading Speed Queen, the filter might be in a different spot, perhaps even inside the agitator column or at the end of the drain hose. However, the most common spot for a user-serviceable filter on modern Speed Queen washers is indeed at the front, near the floor.
If you are having trouble finding it, the best place to look is your washer's owner's manual. That little book that came with your machine has all the specific details for your exact model, including diagrams and instructions for how to clean the Speed Queen washer filter. It is always a good idea to check that first if you are unsure, just to be absolutely certain where you need to look.
Step-by-Step Guide to Clean Your Speed Queen Washer Filter
Alright, with everything ready and the filter located, it is time to get down to the actual cleaning part. This is where you will actually get to clean your Speed Queen washer filter, making sure it is free from all the bits and pieces that have gathered. Just take it one step at a time, and it will be done before you know it, you know?
First, with your towels or pan in place, slowly and carefully open the access panel or door where the filter is. You might hear a slight gurgle or see a little bit of water start to trickle out. That is perfectly normal. Let the water drain into your prepared towels or pan until it stops flowing. This step is pretty important to avoid a bigger mess, actually.
Once the water has mostly drained, you should see the filter itself. It usually looks like a large cap or a knob that you can twist. Gently turn it counter-clockwise to loosen it. Be prepared for a bit more water to come out as you remove it completely. This is the last bit of water held in the filter chamber, so just let it flow out.
Now that you have the filter out, you will likely see all the lint, hair, and other debris that it has caught. This is the stuff that has been stopping your washer from working its best. Take a moment to remove all of this material. You can use your gloved hands, or a paper towel, to pull off the larger clumps. It is quite satisfying to see how much junk comes out, in a way.
With the big bits gone, it is time for the detailed cleaning. Use your small brush, like that old toothbrush, to scrub the filter under running water. Make sure to get into all the grooves and crevices to remove any remaining slime or small particles. You want the filter to look clean and clear, free from any dirty marks, just like the definition of clean suggests. Rinse it well to ensure all soap residue and loosened dirt are gone.
While the filter is out, take a quick peek into the opening where the filter sits inside the washer. Sometimes, there might be a bit of debris or gunk still clinging to the edges of that opening. You can use a damp cloth or a paper towel to wipe that area clean as well. Just reach in as far as you can comfortably, making sure not to push anything further into the machine.
Once the filter is sparkling clean and the opening is wiped out, it is time to put everything back together. Carefully insert the clean filter back into its spot and turn it clockwise until it is tight and secure. You want it to be snug enough so no water can leak out, but do not overtighten it, as that could cause problems later.
Finally, close the access panel or door. Give it a gentle push or click to make sure it is latched properly. Then, you can plug your Speed Queen washer back into the power outlet. You are all done! You have successfully managed to clean your Speed Queen washer filter, and it is ready to get back to work, which is pretty great.
How Often Should You Clean Your Speed Queen Washer Filter?
So, you have just gone through the process of cleaning your Speed Queen washer filter, and it was not so bad, was it? Now, a very common question that comes up is how often you should actually do this little maintenance job. The truth is, there is no single, hard-and-fast rule that applies to everyone, as it really depends on a few things, you know.
Generally speaking, a good starting point for most households is to check and clean the washer filter every three to six months. This kind of regular check-up helps prevent major buildups and keeps your machine humming along nicely. It is a bit like tidying up your room; if you do it a little bit often, it never gets too messy, right?
However, how often you run your washer plays a big role. If you have a large family and are doing several loads of laundry every single day, you might find that your filter collects more debris more quickly. In that case, checking it every couple of months, or even monthly, might be a better idea to keep things truly clean.
What you wash also makes a difference. If you often wash things that shed a lot of lint, like blankets, pet beds, or new towels, your filter will likely get clogged faster. Pet owners, for example, often find they need to clean their filters more frequently because of all the pet hair. So, if your laundry includes a lot of those items, consider checking the filter more often, perhaps.
You might also notice some signs that tell you it is time to clean the filter, even if it has not been a few months yet. If your clothes are not coming out as clean as they used to, or if the washer is taking a very long time to drain, or if there is a strange smell coming from the machine, those are all good hints that the filter might be full and needs some attention. Listening to your machine and observing its performance can tell you a lot, too.
Keeping Your Speed Queen Washer Running Smoothly
Cleaning the filter is a really good step towards keeping your Speed Queen washer in top shape, but it is just one part of a bigger picture of care. A well-maintained washing machine is going to serve you well for a very long time, and a few simple habits can make a big difference in its overall health and how clean your clothes get, so.
Beyond the filter, thinking about the kind of detergents and fabric softeners you use can be helpful. Sometimes, too much detergent can leave a residue inside the machine, which can lead to smells or even affect how well the machine rinses. Using the right amount, or even a little less, can actually be better for your washer and your clothes.
It is also a good idea to leave the washer door or lid ajar after each wash cycle. This allows air to circulate inside the drum, helping it to dry out. This simple act can prevent the growth of mold and mildew, which are often the culprits behind those musty smells that can sometimes cling to clothes. A dry machine is a happy, fresh-smelling machine, you know.
Every now and then, running an empty cycle with a washer cleaner or a cup of white vinegar can do wonders for the inside of your machine. This helps to break down any soap scum or mineral deposits that might have built up over time, keeping the internal parts clean and free from impurities. It is a bit like a deep clean for the washer itself, making sure all those hidden spots are clean.
And of course, always check pockets before putting clothes in the wash. Those forgotten coins, keys, or even small toys can cause damage to the washer's drum or get caught in the drain pump, which is where the filter comes in. A quick check can save you from bigger problems and keep your Speed Queen running without a hitch, which is pretty important, actually.
Tips for a Cleaner Speed Queen Washer
To truly keep your Speed Queen washer in the best possible shape, and to make sure it always delivers wonderfully clean laundry, there are a few extra little things you can do. These are just some helpful habits that contribute to a cleaner Speed Queen washer and a more efficient laundry routine overall, you know.
One good tip is to regularly wipe down the rubber gasket around the door, especially on front-loading models. This area can gather moisture, lint, and even mold over time. A quick wipe with a damp cloth after a few washes can prevent this buildup and keep unpleasant smells from developing. It is a small spot, but it can make a big difference in freshness.
Another idea is to avoid overloading the machine. While Speed Queen washers are known for their capacity and ability to handle larger loads, stuffing them too full can prevent clothes from getting thoroughly cleaned and rinsed. It also puts more strain on the machine's motor and other components, which is not ideal for its long-term health. Give your clothes room to move around, and they will come out cleaner, too.
Consider the water hardness in your area. If you have very hard water, mineral deposits can build up inside your washer over time. Using a water softener or adding a water conditioner to your wash can help reduce this buildup, keeping the internal parts of your machine cleaner and more efficient. This is a bit more advanced, but it can really help in some places.
Finally, pay attention to any unusual noises or smells coming from your washer. Your machine often tells you when something is not quite right. A strange clunking sound, a persistent musty smell, or even clothes that are not spinning as dry as they should be can all be signs that something needs attention. Sometimes, it is just a simple fix, like cleaning the Speed Queen washer filter, but listening to your appliance is always a good idea, honestly.
In short, keeping your Speed Queen washer filter clean is a simple yet very important part of taking good care of your laundry machine. By following the steps to clean your Speed Queen washer filter, gathering the right tools, knowing where to find the filter, and understanding how often to perform this task, you help your appliance work its best. These regular, simple cleaning habits, along with a few extra tips for overall machine care, mean your washer will keep your clothes fresh and clean for a long time. It is all about making sure your machine is free from dirt and impurities, allowing it to perform its duties effectively.
- Gabriella Salick Age
- Kong Day
- Michael Kiwanuka Seattle
- Kennedy Smith Hurdles
- Los Santos Motorcycle Club
How To Clean Speed Queen Washer Filter at Jonathan Stiefel blog

Decoding the Speed Queen Washer: A Comprehensive Diagram Guide

Decoding the Speed Queen Washer: A Comprehensive Diagram Guide
